Thursday, February 6, 2014
Super Simple Play Tent
I used 1/2" dowels instead since our largest drill bit was 1/2" and I didn't want to buy a bit that we would likely not have a use for again. While I was at it I made one for my nephews and niece.
For one tent:
4 - 1x2" x 4' boards, mine were pine select - $8.00 total
3 - 1/2" x 4' dowels, mine were poplar - $5.04 total
about 2.5 yards 45" wide fabric - on hand
This turned out to be a really fun, simple and economical project with a result my kids love!
Monday, May 13, 2013
Embellished Tea Towel {Frugal Teacher Gift}
To start out, I prewashed all the towels and then pressed them before adding the embellishment.
To make the embellishment strip I gathered or cut 45" wide strips of fabric. The strips were about 3" wide, but could be any width you desire. When I had a bunch of strips I sewed them together and added a few more strips until I had a big piece which was more than the width of the towel I was going to put it on (to allow for shrinkage and leaving enough at each edge to neatly turn it under on the edge of the towel. At this point I laundered the whole piece because I wasn't sure I had washed all the fabrics I was using and I really did not want it to bleed in the wash for the recipient of this gift. After ironing all the seams, I cut the large piece into strips (perpendicular to the seams), folded down and ironed the top and bottom edge of each strip and top-stitched them to the flour sack towels. Using strips that were 45" wide I was able to make 10 of these towels, just enough for our teacher list. :)
I paired these with some extras I had around the house, things like dish soap, hand soap, candles. Since those items were on hand, along with my fabric and thread stash, I really only paid for the flour sack towels, which came to a whopping $.75/piece. Of course, our teachers are worth so much more, but with our current budget, I hope they enjoy the gift even if I didn't spend much out of pocket.
What's your favorite little gift to give or receive?
See also: wrapping paper teacher gift & another towel gift for teachers
Thursday, April 4, 2013
From Crib to College: Upcycled Bedspread from Crib Sheets
| bedspread made using old crib sheets |
Friday, March 30, 2012
Upcycled Diaper Bag or Purse {Project #3}
- With the skort fully open, I stitched the backside of the bag with our baby girl's initial with a decorative star stitch which mimics the little flowers on the front. (not shown)
- Next, I sewed some vertical seams on the overlapping part of the skort which makes a front pocket which is the perfect size for a travel wipes container or a sippy cup.
- Thirdly, with right sides together I sewed the bottom seam, then laid the bottom seam open to square off the corners to give the bag shape and give it a chance of standing up on its own rather than falling over when set down.
- To finish the bag, I sewed on a handle made of midweight white cotton canvas sewn into a tube (4 layers thick), topstitched the gingham ribbon onto the handle, attached the handle to the bag, sewed a loop of gingham ribbon onto the bag and attached a button to the front to create a simple closure.
I love the cheery, vivid green, the gingham, the flower motif, and the cute no-work lining that it has. And I love that it was free because the skort was free to us and the the other bits and pieces came from my creative stash.
Now I can't wait to use it for our little girl! And if I didn't have a need for a diaper bag right now, I would totally use this as a springtime purse.
Friday, January 6, 2012
Project #2 - Small Fabric Bags
Small Fabric Bags - These are inspired by many I have seen on Pinterest, but easier due to starting with double-sided finished pieces.
Materials:
Placemats (mine were used, being saved from the Goodwill-bound donation pile)
Once again, the weight of the double-sided placemat provides a good weight for these bags and a nice pattern and color contrast if you decide to turn a cuff down without any additional finish work. Truth be told, I'm always looking for shortcuts.
Thread
Ribbon, buttons or other embellishments, if desired
Time: about 1 hour for 4 bags
A few uses:
- corralling remotes and small cords
- a temporary home for lonely socks in your laundry room
- a place to stash trash in your vehicle (maybe attaching a handle would be helpful in that case)
- keeping crayons, markers, pens, small notepads neat & tidy
- keeping a collection of travel-sized toiletries together in a guest bathroom
Thursday, January 5, 2012
A New Year of Crafting & Project #1 - Mini Doll Tote
My crafting goals for the year:
1. Complete about 1 project per week.
2. Use supplies I already have or can repurpose from other items.
3. Involve our daughter and teach her how to sew. She is one crafty girl and lights up when she completes a project and amazes us with her resourcefulness (many of her projects start with a trip to the recycle bin to forage for supplies).
- - - - - - - - - - - -
Project #1 - American Girl Mini-Doll Tote / Sleeping Case
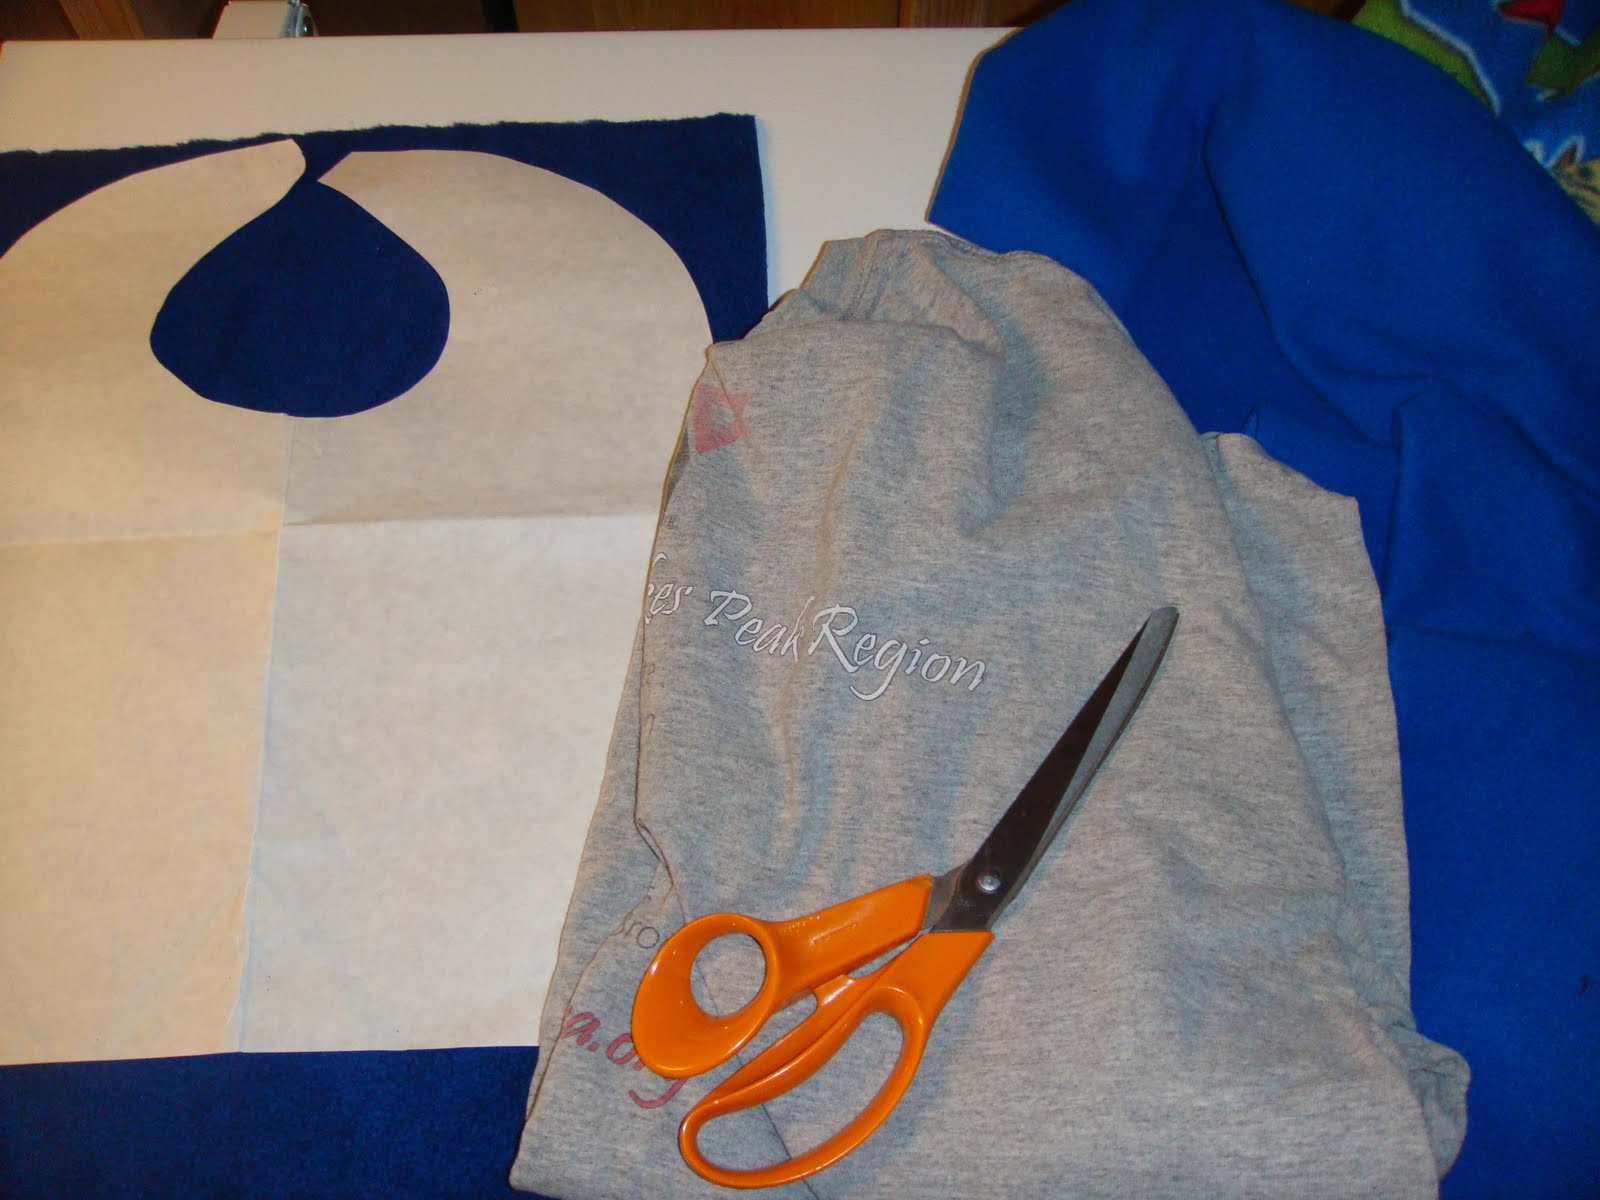
This past Christmas we gave our girl an American Girl Mini-Doll which she has really enjoyed. One evening I was motivated to sew and made this little case for her to put the doll in for travel or just storing the doll in.
Materials:
Placemat
scrap of fleece
twill tape or ribbon
thread
Time:
10-20 minutes
Start with a placemat. The stiff nature of a double-sided placemat provides a nice weight and durability for the finished project. I had a placemat in my crafting stash (50 cents or $1.00 on clearance several years ago).
1. Cut the placemat to half its width. You'll only be using one half for this project.
The raw edge that you have created is now the bottom of the tote. Because 3 sides of your placemat piece are finished and fleece does not fray, you'll end up with nice edges without any extra effort.
2. Cut a scrap piece of fleece the width of the placemat piece and about 2 inches shorter than the height of the placemat piece.
3. Turn over a small edge along the width of the fleece and hem, using a decorative stitch if you want.
4. Lay the fleece and pieces together, right sides together. Sew together along the bottom (raw) edge of the placemat.
5. Turn the fleece over so that now the fleece and placemat piece are wrong sides together.
6. Pin your pieces of twill tape or ribbon to each side, sandwiched between the fleece and placemat piece.
7. Sew, from bottom to top, to secure the fleece to the placemat piece, also securing the tie on each side.
8. Mark the center of your tote and sew a vertical line to divide the fleece into two pockets.
9. Put the doll in, tie it up and you're good to go.
With the other half of the placemat that I set aside at the beginning of the project I made a potholder by folding over the remaining piece, putting in a couple layers of batting and sewing around the edge of the whole thing, sandwiching the ends of a loop of twill tape inside the seam to create a loop so it could be hung.
1 project down, 51 to go. I'm looking forward to getting back to sewing and crafting.
Wednesday, July 13, 2011
Upcycled Pillow Cover
Bonus! I still have enough fabric from the sleeves for another little project.
Yep, I know it is a little too snug on the pillow form. The shirt I was working with was a tad bit small and I only had this big pillow form, but I'll take done over perfect any day.
Friday, April 15, 2011
Upcycled Bibs
Materials:
old t-shirt
scraps of thin fleece
random buttons
pattern made from tracing a full coverage big
Getting to work...
Of course, use your safety common sense with buttons and babies. As they go through the wash, I ensure that the buttons are still fully secured and won't be a choking hazard.
Thursday, April 14, 2011
Living Room Mini-Makeover
and in with the new....
The new curtains are drop cloths I picked up compliments of a Plastic Jungle giveaway I was blessed to win via Half Pint House. I washed them up on hot with lots of fabric softener and sewed casings for the rods to slip through. They are not perfect as the dropcloths were not exactly the same size or the same weight and a couple had flaws, only visible after I had washed them. But I think the change opens up the room and the neutral tone will allow for other little updates down the road. Because at this stage in life, time and money just allow for incremental changes, not whole room makeovers done in a day. Next step: blue accents. Further down the road: one really comfortable couch.
Friday, February 11, 2011
{Fabric Jingle Ball} project #1 - 2011
With our little one's birthday quickly approaching I was on the look-out for an idea for a gift for him. All the suitable ideas I was coming up with would be redundant here because of his three older siblings who have left him well supplied with toys and clothing, as well as all the fresh things he has just received at Christmas. Then I remembered a fabric rattle ball that we had seen at a friend's home while visiting at Christmas. A Google search yielded this link (scroll down to the free patterns on the bottom right). I followed the directions, but went my own way on a few things. I used up some scraps of fabric left from other projects and some upcycled denim from baby overalls. I sewed in a piece of cotton batting with each fabric piece to give it a smoother finish when completed and because I had some scraps of that available and was concerned that the stuffing material I had would run short. I also added two 1.5" bells. It has been a hit with all the kids as it is the one ball that is okay to be {gently} thrown about the living room. Out of pocket cost for this gift = $.52 for the bells. All other materials came from my stash of supplies. And the satisfaction of him loving it is icing on the birthday cake!
Tuesday, November 30, 2010
Simple Teacher Gifts
This week I've been working on teacher gifts. We love the folks who teach our kids at their homeschool enrichment program, Sunday school, etc. and wanted to give them something they can put to good use without breaking the budget. I'm aiming more and more for giving gifts that don't create clutter in someone's home. This year I opted for nice dish soap (you know, the kind you don't often splurge on for yourself) and a flour sack towel that I sewed with a decorative snowflake stitch and stamped to give it a festive look.
Supplies, cost breakdown and a few notes:
flour sack towels - $1.00 each at Wal-mart
Note: These are not great quality, but should make it through the holidays at least. I prewashed and ironed these before stamping and sewing.
rubber stamp - $5.xx with coupon - will be able to use for other things
red stamp pad - on hand
Updated to add: Do NOT use the kind of ink I used. Crafting FAIL!
Note: I used Color Box pigment ink which may not be the best, but I didn't have time or energy to track down an ink suitable for fabric, so take that into consideration if you're doing something similar. I did try acrylic paint dabbed onto the stamp for one but I didn't like the effect.
2 spools red thread - on hand
Mrs. Meyers Clean Day dish soap - $2.98 at Wal-mart (Score! Coupons were attached to the bottles at the store I went to.)
red yarn for wrapping - on hand
sewing machine - Mine is not the top of the line by any means, but it has some fun decorative stitches.
Thursday, April 9, 2009
10 on the 10th
Tuesday, March 31, 2009
Another Easy Baby Gift
Cost of this set:- two remnants, $4.00 max, likely much lower
- one onesie (bought in pack of 5 from Jo-Ann with coupon) $1.25
Total: $5.25 or less
I paired this with a pack of newborn diapers bought with a great coupon keeping the complete cost well under $10. Cute. Easy. Cheap.
Wednesday, February 18, 2009
It's Baby Season Again!
This set of flannel and fleece burp cloths was paired with some Gymboree socks.
And this set is a fleece blanket and cotton and fleece burp cloth. I love ribbon and was happy that I had some that coordinated with the fleece. I know this print may be a bit bold for some, but I'm taking a chance that my lively friend will like it. Monday, November 10, 2008
Baby, Baby
This is a set of two burp cloths, fleece hat and on-the-go pouch which is just big enough for a few diapers, a small wipes case and maybe an outfit or receiving blanket. The pouch was made from a clearanced placemat, a spare button and some twill tape recycled from a gift wrapping. You can't see it in the picture, but the twill tape goes around the pouch creating a handle at the very top of the back. The stiff nature of the placemat makes for a nice sturdy bag.

The second set is made up of two burp cloths, a fleece hat and a clearanced onsie. One burp cloth is flannel and fleece and one is knit and fleece. The knit came from an unused A-shirt that was in the bin of items to be donated.
This set is 3 embroidered fleece and cotton mini-check burpcloths and an on-the-go bag made of cotton with a nylon webbing handle. With a caribiner clip the bag would be easy to attach to a stroller to keep bare necessities at hand.

- two plug-in air fresheners with a clean linen scent (I thought these would be good near the diaper pail) - I think these were free after rebate, but no more than $1.00 each.
Friday, November 7, 2008
A Bit of Knitting
I am knitting some things for each of my kiddos for Christmas. Two scarfs down, one hat to go.
Tuesday, February 26, 2008
Simple Sleeping Bag

The details & directions:- Prewash the fleece.
- Cut a piece or two of 58/60" wide fleece to the desired length. I've made these a bit longer than the child so they'll have some room to grow. (For this one I used two remnants I had on hand.)
- If using two pieces, sew pieces together. (I sewed them together using a straight stitch, then opened up the seam and top-stitched with a zigzag to reinforce and make the seam more smooth and comfortable for the user.)
- Hem the top edge using a zigzag stitch to accommodate the stretchy nature of the fleece.
- Fold over piece of fleece so salvages meet.
- Trim off the salvage.
- Straight stitch from this point forward. Sew bottom seam.
- Using a large seam allowance (approx. 1 - 1.5") sew up the side, starting at the bottom, about half way up.
- Open up the unsewn part of the side, turn edge under and hem each side to the top. If you want, sew a line where the side seam ends connecting the two hems which will reinforce the opening area a bit more.
- You're done! Let the kiddos enjoy!
I surely could use a lesson in writing directions. These seem as clear as mud, so feel free to ask questions if they don't make sense. I have considered using zippers for the side, but for young children, this seems easier for them to use and certainly easier to sew up.
Monday, February 25, 2008
Make-It Monday

One goal I have for this year is to use up some of my supplies, the volume of which has grown far beyond my sewing and crafting cabinet. This blanket was a good start toward that goal.What projects do you have around that you would like to get completed? My next project to complete is a biggie...catching up on scrapbooks for the kids and our family, which will first require having hundreds of pictures printed. It's been a looooooong time since we printed pictures. Maybe I'll get back to that in March.
Tuesday, October 30, 2007
Closet Redo
Here is how it started out. The double sliding doors have not been handy at all since we've had the both of the boys' clothes in the closet together.

After I removed the doors. It's not terribly messy, but I also don't want to see it this way all the time.
And the "after" shot, with red gingham curtains hung from a spare shower curtain rod. Thanks for the fabric, Mom! I only spent about an hour sewing the curtains so that was a pretty quick fix. I also moved the changing table into the closet from another room. This arrangement will work better with clothes right by the changing station. Now I'm on the lookout for some stylish and/or functional tie-backs for when the curtains are open. The space for clothing has been reduced, but this will force us to keep their wardrobes a bit simpler and rotate clothes in and out for the seasons.
Thursday, September 6, 2007
Simple Pocket Organizer
I turned up about the bottom 3/8ths of the canvas and sewed up the sides, then sewed two other rows of stiching in the middle to make three pockets. Since the edges were already neatly finished, that was all I had to do except hang it up. I tried it out in the kids' bathroom where it hung on a towel rod. Although that was a good spot, I thought it might get more use on the changing table to hold lotion, diaper cream and other baby necessities.
This was a fun, quick project and I think I may like to make more of these with fabrics and embellishments to suit the place in which they will be used.Total Cost: $.08.
Total Time: 8 minutes - most of that was uncovering the sewing machine from the pile of junk that had accumulated around it.